So you are in the middle of your design process and have arrived at a tough decision. You have two distinct designs for a certain flow ready, however, you aren’t sure which one will perform better.
Then you have come to the right place!
In just a few minutes of your time, we will take you through an example of A/B testing with the Prototype Testing tool from UXtweak. Read further and you’re sure to become ready to A/B test your prototypes yourself.
What is A/B testing in UX?
A/B testing is a UX research method in which you take two alternative designs of your web/app or other designs and pit them against each other to see which one performs better in the context of the user approaching a chosen problem. Typically, you would split your respondent base (who could be your current users, your potential clients etc.) and show each respondent either the design “A” or the design “B” (hence the name of the activity).
Afterward, you use statistical methods to determine which design performed “better”. It’s entirely up to you what metric to use when determining which design performed better. It could be the conversion rate on your website or – as in the case of our example below – the reduction in lostness when trying to solve a specific task.
A/B testing prototypes
Prototype A/B testing means simply performing an A/B test with prototypes, rather than a finished digital product, like a developed website or an app. Typically prototype testing is easier to execute and also cheaper, as creating a prototype is relatively easy in comparison to the process that is coding a fully functional web or app.
If you want to see how a A/B prototype testing study could look like check out our demo:⬇️

In this article, we specifically look at a A/B test where we pit website prototypes against each other. You can easily design a prototype of your digital product in online tools such as Figma and after reading our guide on prototype testing you will have all the knowledge you need for creating the ultimate prototype of your needs.
If you prefer video content you can watch the recording of our webinar. Where we talk about A/B testing on a specific prototype example, give useful tips for proper analysis, and generally have an informative conversation.
Our study: A/B testing for landing page optimization
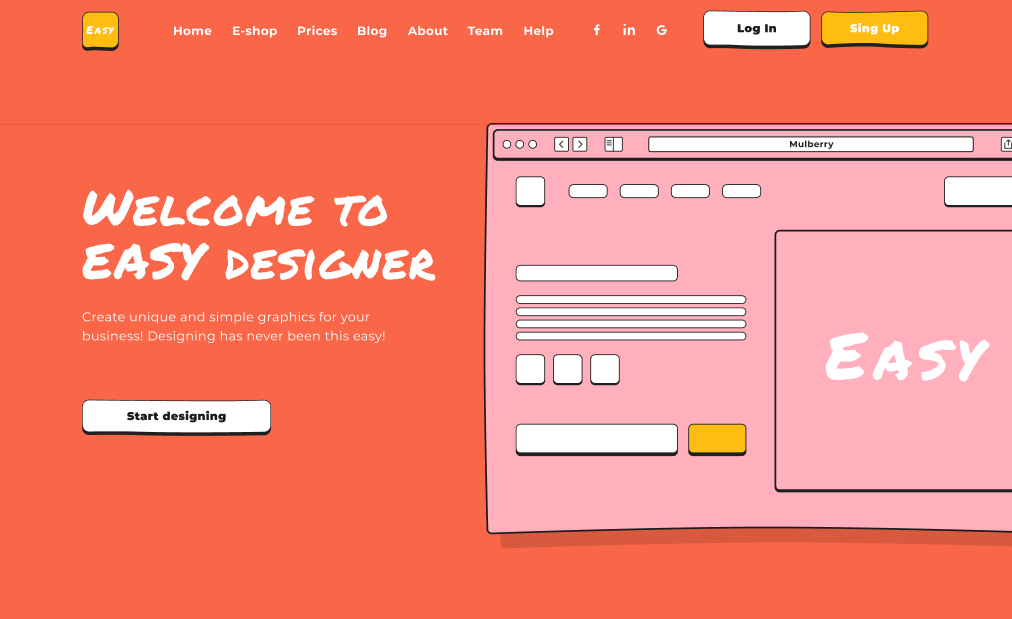
In our case, we decided to test simple A/B mockups of the homepage of “EASY Designer”, which is an online design tool website. We aimed to add a way to contact support via a simple contact form.
We came up with two alternatives on how to allow the user to find the support form from the landing page.
The first alternative – Variant “A” – simply adds a “Help” option to the top navigation bar:
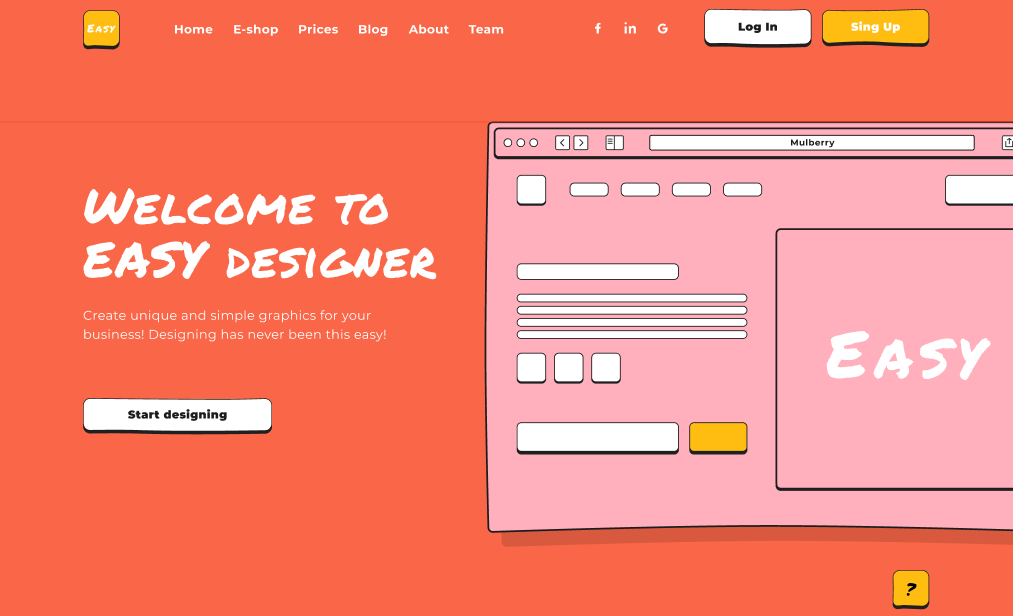
The second alternative – Variant “B” – adds a call to action button with a question mark label to the bottom right corner of the landing page – a typical location for support chat widgets:
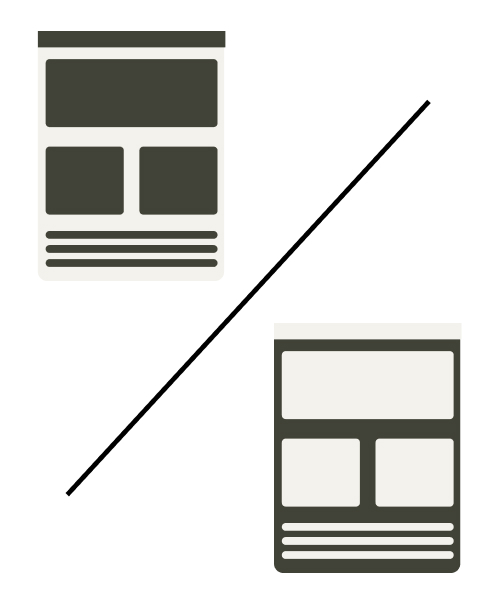
In our Figma prototype, we created equivalent flows with both of these variants, which included pages for each of the navigation options from the landing page, to the contact form, with the necessary steps in-between all also included.
When creating this Prototype in Figma, it’s necessary to:
- Include both flows in one file for a simple import into the UXtweak Prototype Testing tool.
- Make sure that there are no connections between the two flows. Otherwise, users would be able to cross from one flow to the other, jeopardizing the results of your study.
Setup in UXtweak
To make sure your study is set up properly for the A/B testing you need to follow these steps:
1. Create a new Prototype Testing study and import your Figma prototype using its public sharing link.
If you’re unsure how to use the share link, check out our documentation here. We used the One-to-one mode for Figma, however for the purposes of this example, it’s not that important which mode you select.
2. Create two tasks with the same task text.
We used the following text for our study:
“A/B: You have been using the EASY Designer platform for some time. This month, you were not able to find the invoice for your subscription. Contact the support, and provide them with your name, email address, and the reason for contact. All text fields are automatically filled after you click on them. Once you fill in all the information, don’t forget to send the form.”
3. Choose the starting and ending designs.
You need to set where the participant begins each task and where the task is considered to be successfully completed. Remember that one task must start and end in the “A” variant while the other must start and end in the “B” variant. Since we consider the task completed successfully as long as the participant managed to contact the support regardless of their exact path, we didn’t choose the “Full path match” option.
4. Randomize the task order
Remember that the point of the A/B testing is to show only one variant to the user, so they can’t be influenced by having already seen the other variant. To ensure this, you need to set up your task options to randomize the task order and to show only 1 task to your user.
The correct setup should look like this:
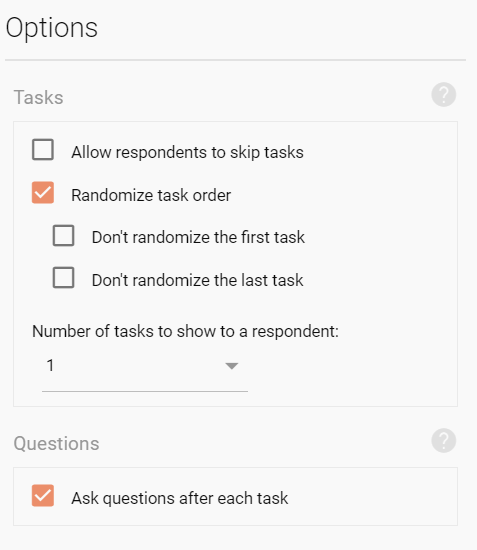
The option to allow respondents to skip tasks is primarily there for long and complex studies, to allow the participant to get on with the study even if they get stuck during one task. Using it in our case would not have much of a point.
5. Add pre-study and post-study questionnaires to gather additional information from your respondents.
We chose to ask about their gender and age in the pre-study questionnaire to see if there is a difference in the performance of the alternative designs based on the demographic of the respondents. If the system you’d like to A/B test is for different kinds of people, you may want to write questions to distinguish them too. In the post-study questionnaire, we also asked respondents to evaluate if the task was complicated to further compare the performance of the design variants.
6. Add a screening question to target your exact audience. If necessary
Respondents
Since entropy has a lower impact the more respondents you have – for example, the randomization of two tasks is more likely to be close to 50% when you have a larger pool of respondents, we’ve decided to recruit 50 respondents to account for this and get results with more even distribution. We used the UXtweak User Panel to recruit the respondents we needed. We decided to target US respondents only.
For your own A/B test, always make sure that you are recruiting your real target audience. Otherwise, your testing could prove to be pointless and a waste of your money.
Results
After we received all 50 responses that we needed, we started with the analysis of our results. We achieved an almost perfect 50% split with 26 respondents testing variant “A” and 24 testing variant “B”.
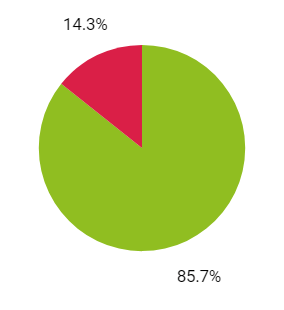
The first and most obvious result to compare between the two variants was the success rate. Success is determined whether the participant ended the task on the right “page” of the prototype as you’ve determined in setup:

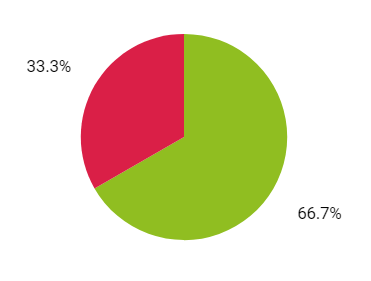
Variant “A” Variant “B”
As we can see the general success rate was higher when the variant “A” was used.
However, we decided to delve deeper into the results to make sure the variant “A” is indeed performing better than “B”. We analyzed several complementary results, which are grouped in the table below:
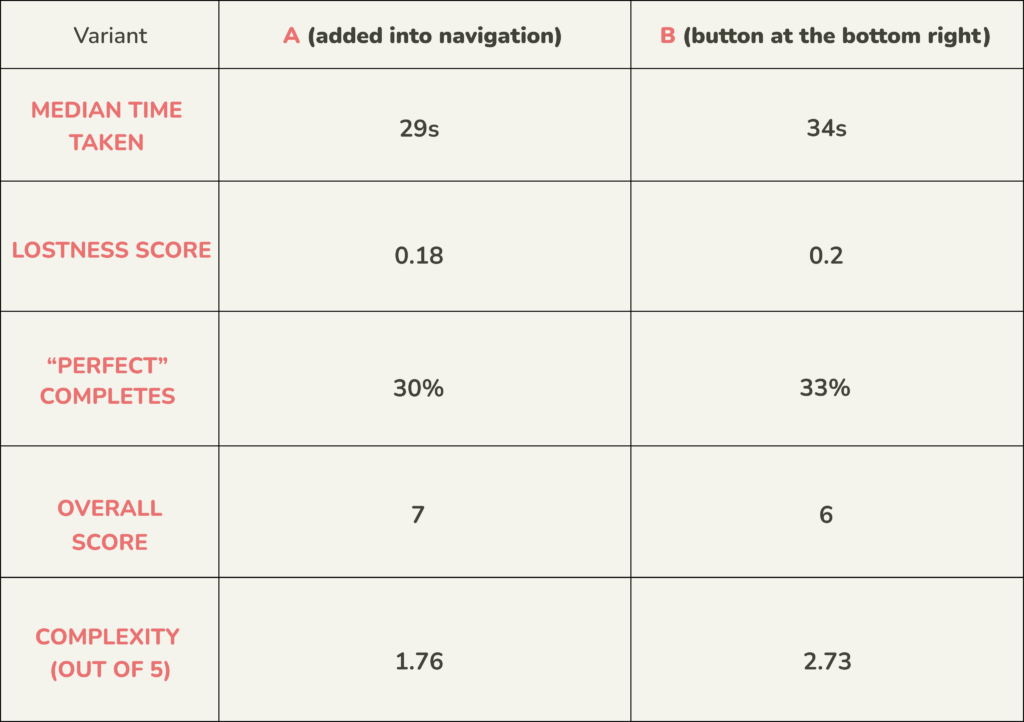
As we look at the additional information we were able to gather from the study, it was confirmed that the variant “A” performed better overall.
The respondents on average needed less time to complete the task – Median time taken. They needed to go through less screens – Lostness score (the perfect lostness score is 0, the closer the score is to 1, the more lost was the respondent). The overall complexity of the task based on the results was lower – Overall score (10 is a perfect score) and the respondents themselves explicitly evaluated the task as less complex – Complexity (out of 5).
The last information we analyzed was the success rate of the variants on our primary target audience. For the purpose of this example we chose the age group of 26-35 as our main target audience. In order to focus on these respondents and check the results for them only, we simply used the filter in the Respondents section of results to select all those of the other age groups and remove them from the analysis:

We then recalculated it and arrived to the following success rates:
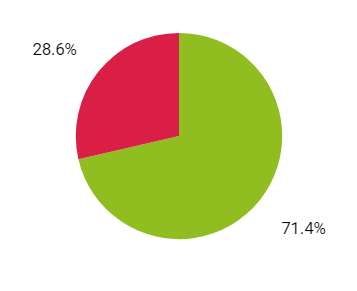
Variant “A” Variant “B”
This was the last confirmation we needed before definitely proclaiming the variant “A” as the better performing one. If you would like to analyze the results even deeper, you could recreate the table we showed above with the filtered respondents.
Advantages and disadvantages of using only one study
It’s important to note that this is not the only way you could conduct the Prototype A/B testing with UXtweak. Similarly to any other tool on the platform (each of which can be used for different kinds of /B testing in their own right), you can run an A/B test using two separate studies.
To better understand when to use which option, we’ve put together the most significant pros and cons of the single study approach here:
Pros:
- You can analyze and compare the results of the variants all in one place. Since all data is accessed from the same study page you can easily jump from task to task and directly compare the results.
- You need only one User Panel recruiting to provide respondents for both groups.
- The respondents are automatically assigned to variants at random
- Since the results of both variants are in one study, you can export them easily with our PDF export to present the results to your higher-ups..
Cons:
- You are able to test only one task per variant using this method. If you want to test multiple flows at once, you will need as many studies as you have variants. Another option to solve this is by chaining multiple A/B testing studies (each one containing variants of one separate task) one after another.

Important takeaways
Now you know how to prepare your prototype for A/B testing with UXtweak Prototype Testing tool and how to analyze the results afterward! Here are some of the most important points to note:
- Put all of your variants in one Figma file, but make sure there are no connections between them.
- Use task randomization to show only one variant to each respondent.
- Gather the correct respondents for your study, make sure you are aiming at your real target audience.
- Decide which factor/metric will determine which variant is better.
- Go through the results and compare the variants based on success rate, lostness and other metrics you deem important.
- If you have a subset of your target audience which is a deciding factor for you, use the pre-study questionnaire to identify them and analyze how the variants performed with this subgroup specifically.