Update: Instructions adjusted to account for universal UXtweak snippet – August 31st 2021
UX researchers and designers test prototypes prior to their implementation to a final product in order to prevent any issues which may arise after the final version is launched. There are many diverse tools which can be used for prototyping, one of the best ones is Axure. This tool is also extremely comprehensive and allows you to create interactive prototypes that reproduce a final user experience.
We would like to show you how to easily set up remote UXtweak testing of your Axure prototypes. By following the next steps, you will configure your study (in UXtweak) and your prototype (in Axure RP 9 and Axure Cloud), so you can start user testing in just a few minutes. Like with all UXtweak studies, testers don’t need to install or do anything besides clicking on a link. It works on all desktops, tablets, and smartphone devices.
Still deciding whether to prototype or not? Take a look at this post about why prototyping is good for your website in further detail.
So let’s start.
What is UXtweak’s Website Testing tool?
For those yet unfamiliar with UXtweak and its tools, Website Testing is a web UX research tool with which you can do usability testing quickly, cheaply, and with real users – your customers. Observe user behavior, collect user feedback about your website (or in this case, Axure prototype), and discover usability issues. All you need to do is insert a UXtweak JavaScript tracking code, define tasks that represent user stories, and send testers a link to the study. The UXtweak wizard guides the testers to complete tasks. There’s no installation for testers.
It’s the ideal way to test your Axure prototype with real customers. We’ll now show you how.
Publish your prototype to Axure Cloud in Axure RP 9
Once your Axure prototype is ready, you need to publish it. In Axure RP 9, click Publish in the Menu and then Publish to Axure Cloud. Name your prototype (optional: select parts of it to include) and click on Publish.
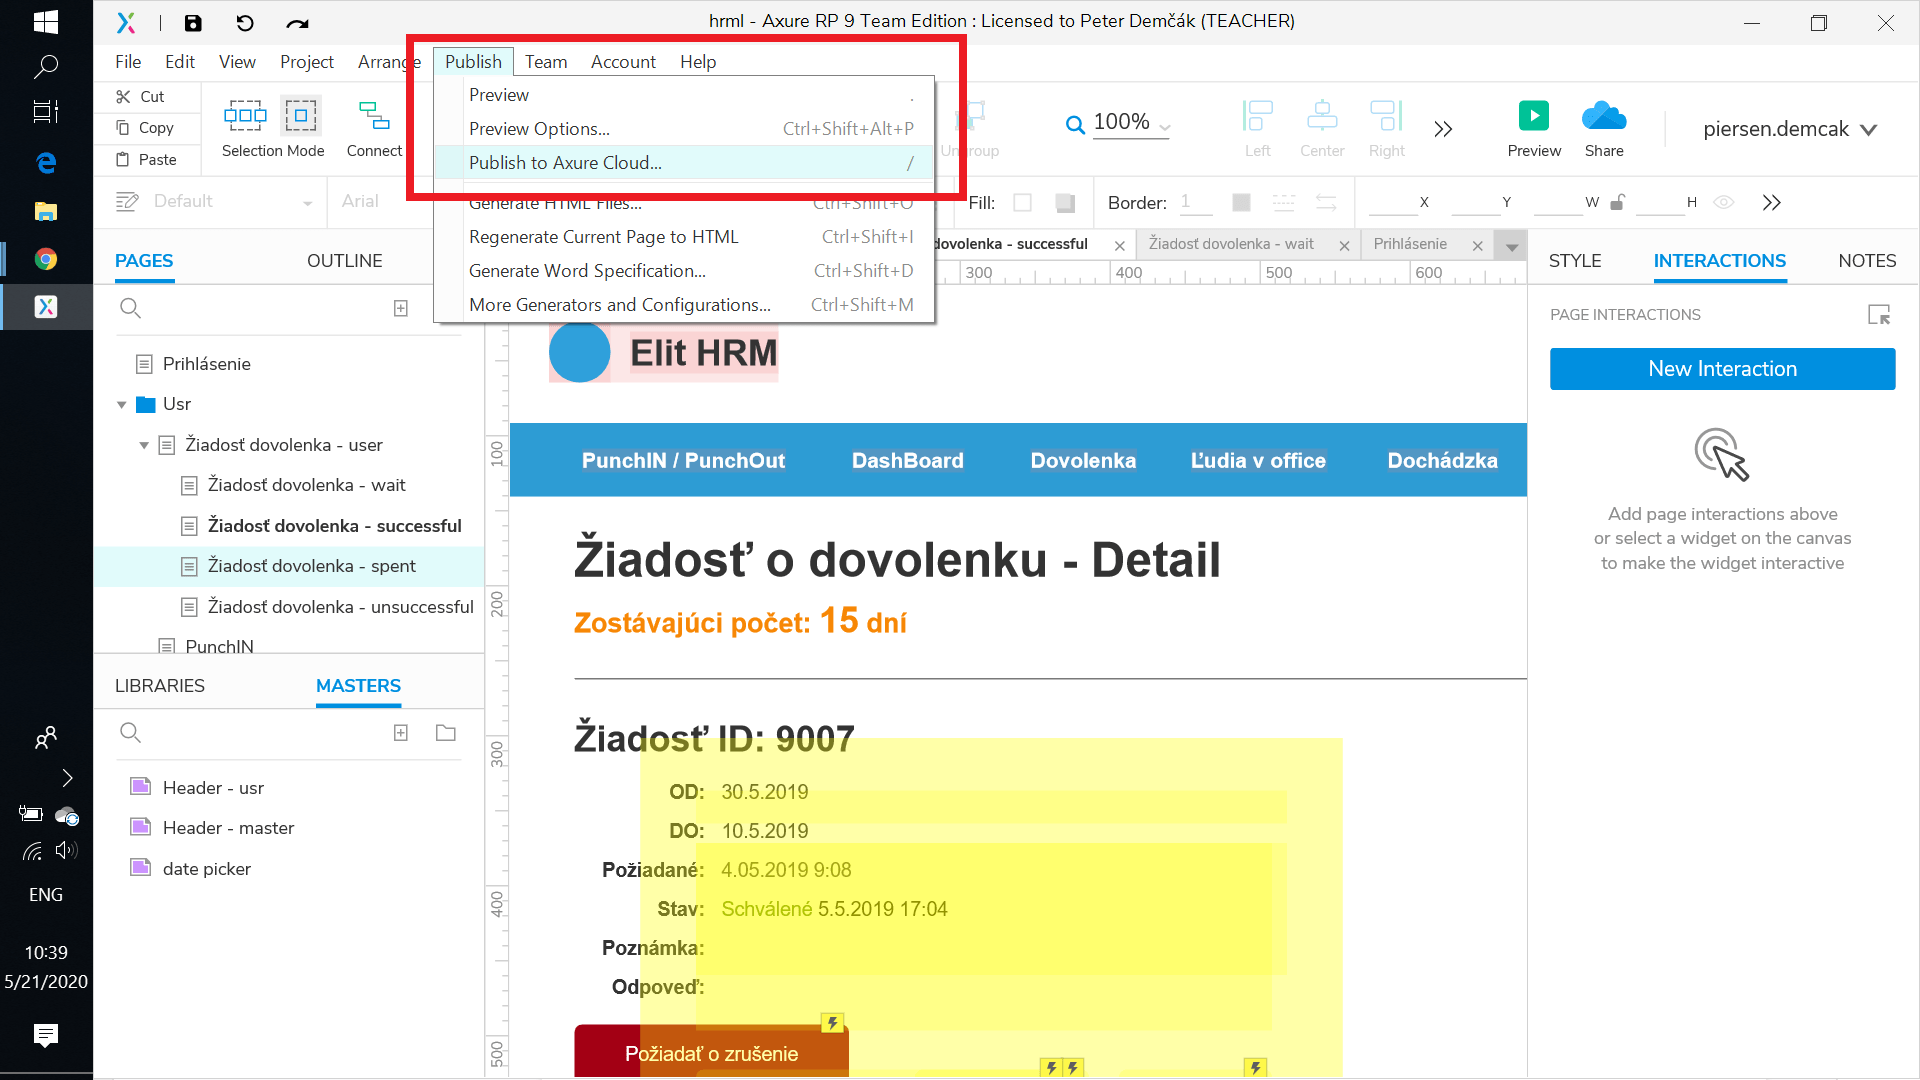
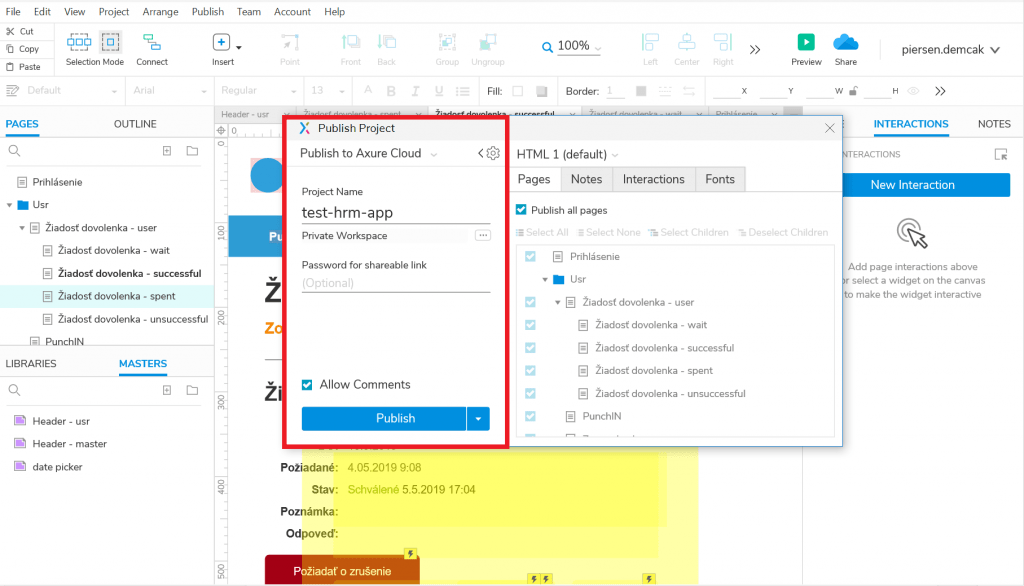
Do NOT set a password. UXtweak needs to be able to access the prototype’s resources – styles, images – so it can include these resources while replaying testing sessions. Otherwise, your Website Testing feature would not work correctly.
Once you’ve published your prototype, you will get a URL to the prototype hosted in the Axure Cloud. For example https://a7odu5.axshare.com/.
If you want to change your prototype (e.g., you noticed some errors in the prototype during pilot testing), you can simply update the new version to Axure cloud. UXtweak automatically stores all the recorded assets from your Axure prototype. Therefore, older recordings will look faithful to previous versions that respondents were seeing at the time. (However, it is usually not recommended to change your prototype once your testing is already running. Instead, you should keep new changes for a new study and compare the results as A/B testing). Let’s move to our guide which introduces the steps which are required to set up remote UXtweak testing of your Axure prototypes:
Set up your study in UXtweak
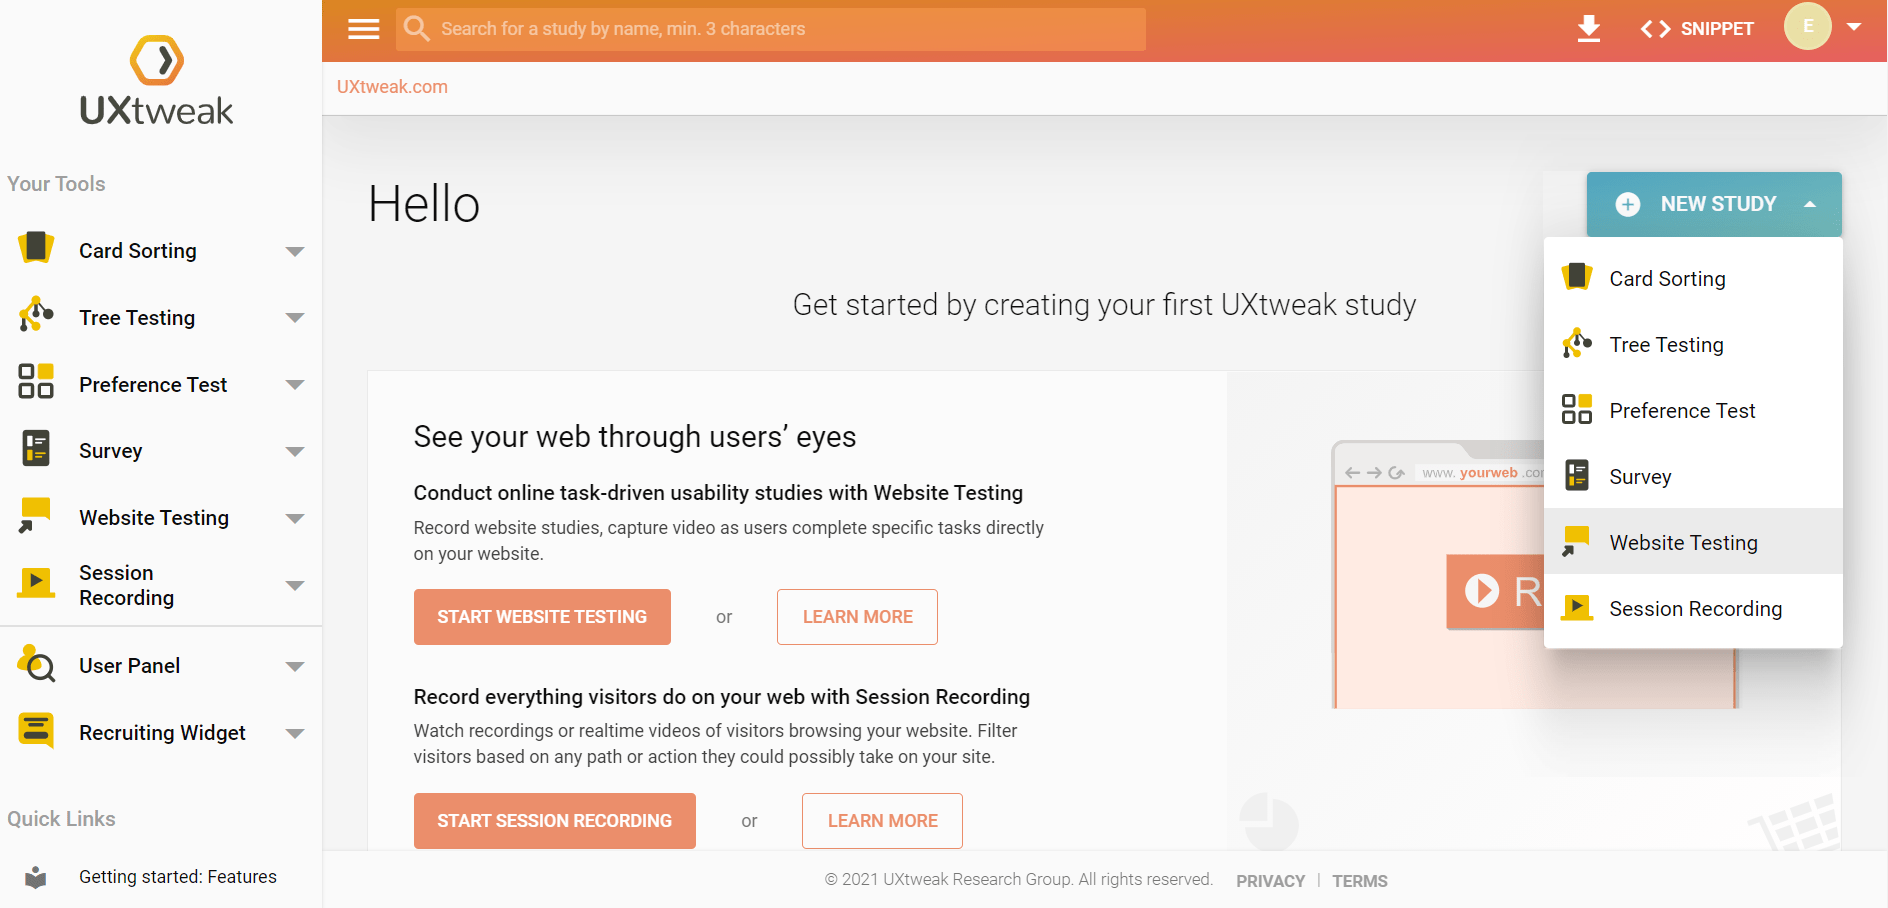
Click on New Study and you end up in the setup of your new study. At the beginning, you will be asked to input the domain of your study.
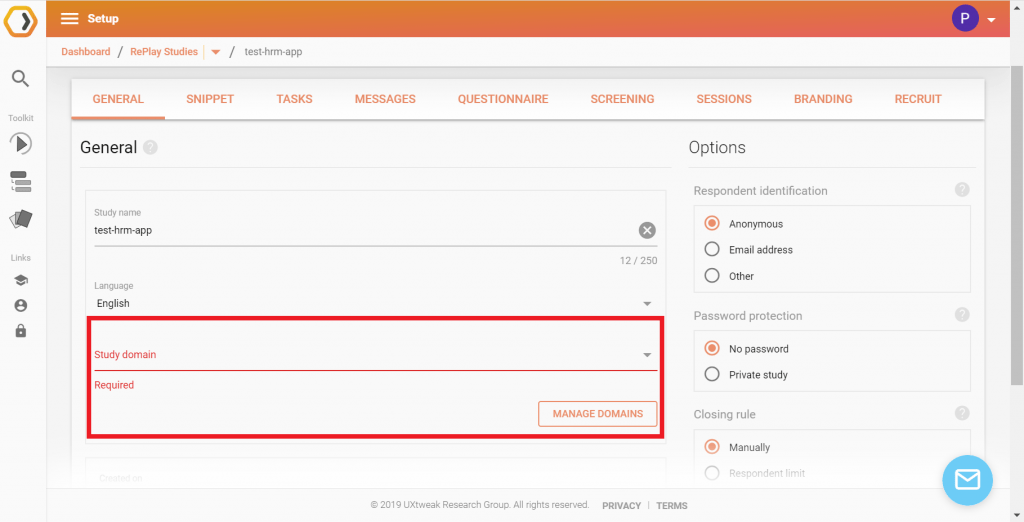
As your prototype was hosted on an online address like https://a7odu5.axshare.com, you need to add axshare.com (the domain section of that address) as your study domain. (Note: axshare.com is like any other domain, i. e. it deducts from the limited number of domains that you can record at the same time. Click on the Menu in the upper right corner and then on Manage plan to see how many domains you can use).
In order to run your tasks you firstly need to set up two URLs:
- Start URL – the web page that UXtweak opens to begin with your task
- End URL(s) – if a visitor ends the task on one of these URLs, they successfully completed the task
To set these URLs, simply navigate to the start or end pages in your prototype and copy their URLs from the browser’s address bar. For example, if your task begins on a login screen, your start URL may look something like this:
Insert the snippet through Axure Cloud
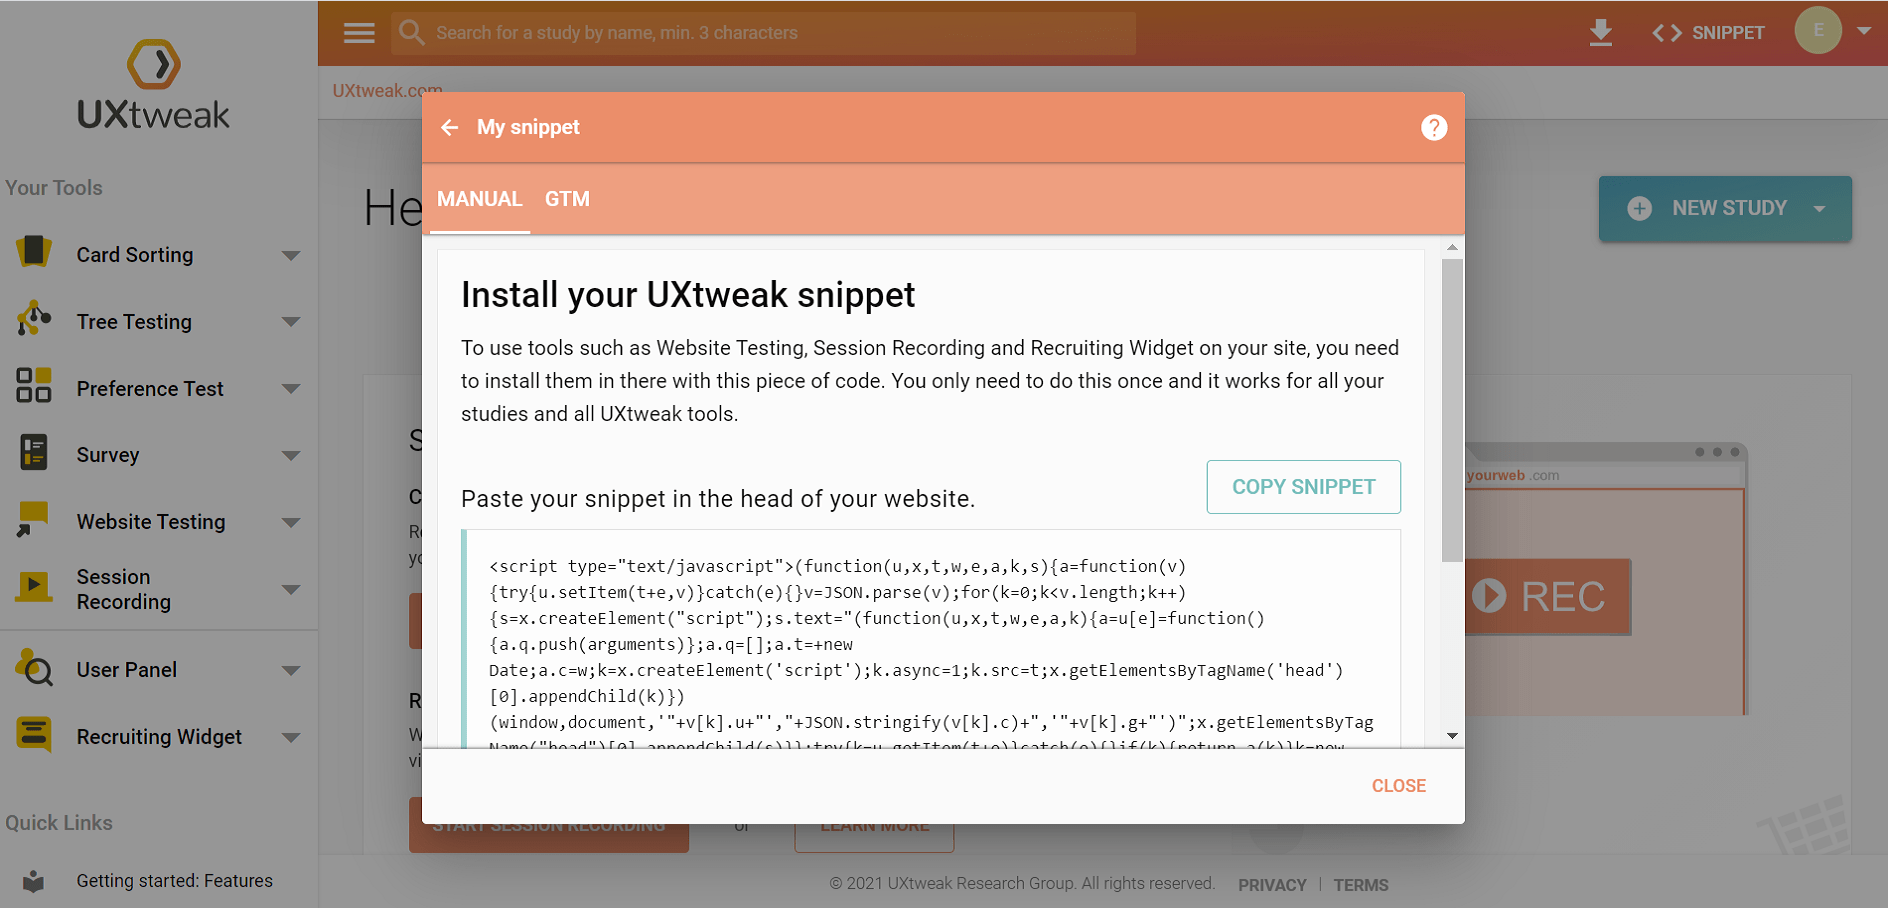
Once both your prototype and study are fully prepared, the last step consists of adding your account’s UXtweak snippet as a plugin into your published prototype. Firstly, you’ll need the snippet. You can find it by clicking Snippet in the top bar, or by clicking Install snippet in your study’s General tab. Copy the snippet.
Then, you need to login to your Axure account – https://app.axure.cloud/. Find your project, open it, go to the Plugins tab and click Add plugin.
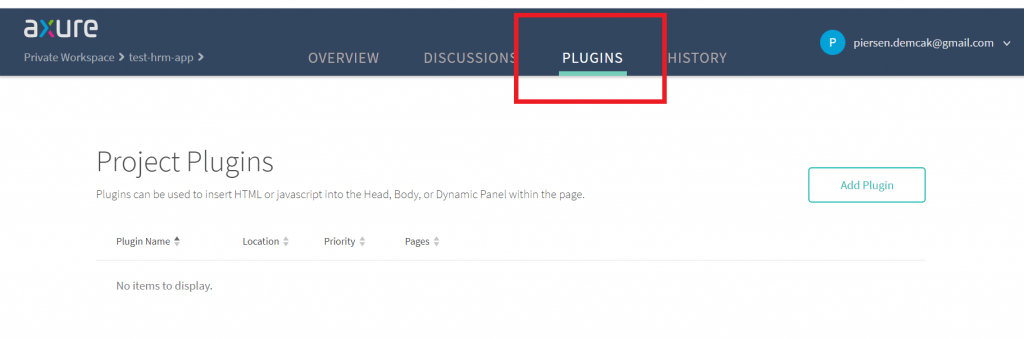
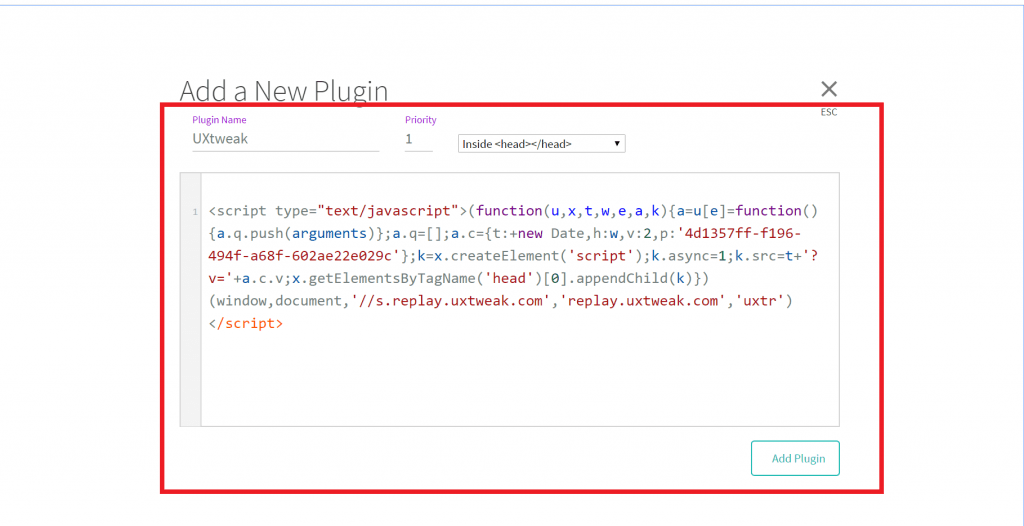
Name the new plugin, select Inside <head></head> (this option should already be selected by default) and finally, paste the snippet that we copied from UXtweak to the plugin and confirm this action by pressing Add plugin.
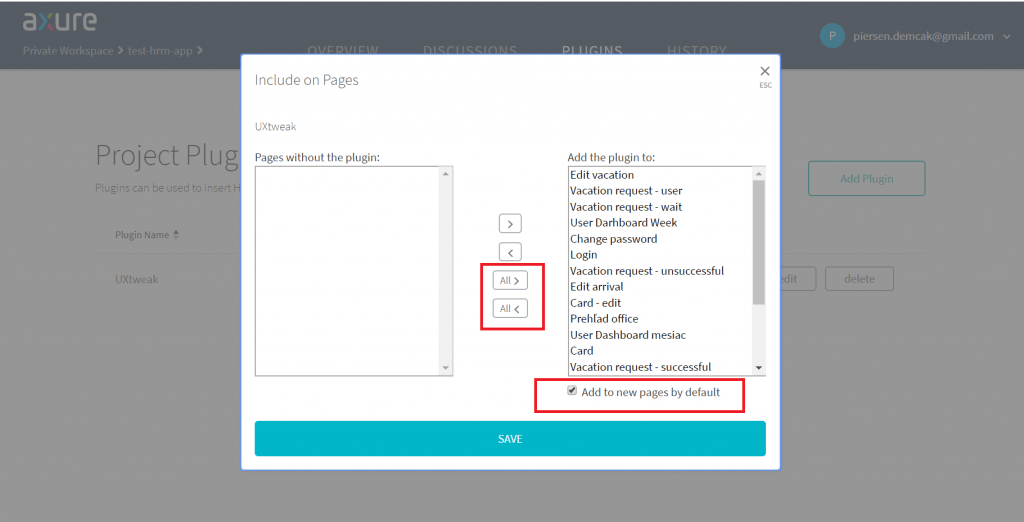
Add the plugin to all pages and check Add to new pages by default.
Note: This UXtweak snippet is universal for your account. This means that if you run more that one study using the same prototype, you only need to add the snippet once.
That’s all! Let’s start recruiting respondents
Now, you can share a link to your study with your potential respondents and start UX testing. In order to recruit your participants, you can use a Recruiting Widget.
The Recruiting Widget is a UXtweak tool, which allows you to bring respondent recruitment to another level by turning your website visitors into testers. In the Recruit tab of your study setup, click Setup Recruiting Widget, then click Create widget for this study.
To add the Recruiting Widget to your site, simply add the very same UXtweak snippet that you added to your prototype to your website as well. In this fashion, you can recruit people who visit your website to test your prototypes. You can change the widget’s look, its location on your web, and you can even reward respondents who complete your study with coupons. Learn more.
Explore all features of task-oriented studies
Axure prototype testing gives you an opportunity to test all features of the Website Testing tool and more:
- You can learn valuable information via custom questionnaires.
- You can record the voice of your respondents via the Think-aloud feature.
- You can let respondents suggest and vote for each other’s ideas with the Crowd Feedback feature.
- You can change the study branding, messages, and more.
If you don’t have any experience with UXtweak, check out our documentation to get more info about setting up your first study or send us an email by using our contact form.
That’s all! Once you launch your study in UXtweak, respondents will see the overlay of study in your prototype while solving the tasks. Enjoy honing your prototypes’ designs with effective online user testing!